Post-import data checks
Check the orientation
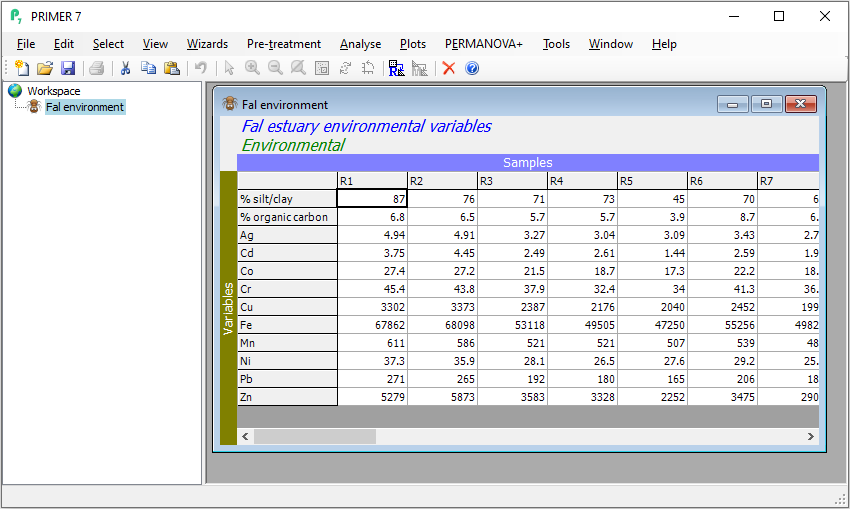
After import, make sure you have specified the orientation correctly by examining the labels on the columns and rows of the data frame. For example, after importing the Fal environmental data from Excel (see the previous page), you can see that the columns are 'Samples' (a periwinkle-coloured strip across the top) and rows are 'Variables' (an olive green-coloured strip along the left margin).
If you happen to get this the wrong way around (e.g., if your variables are actually columns instead of rows), this can easily be changed (swapped around) by choosing Edit > Properties and toggling the radio button for 'Samples as' to either '$\bullet$Columns' or '$\bullet$Rows', whichever is appropriate.
Check the properties, factors and indicators
To be sure that the import has been fully successful, including all data points, factors and indicators that may have been included in your original Excel file, you can see additional information attached to your data matrix by clicking on your imported dataset in PRIMER, and doing the following:
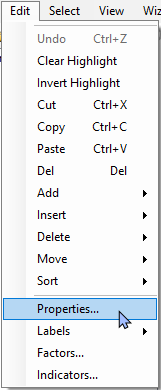
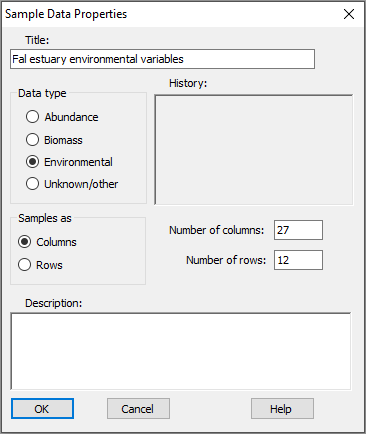
- Look at the data properties, size of the matrix, etc.: Click Edit > Properties.... Note that you can add a useful 'Description' of your data into this dialog if you like. (For the Fal environmental dataset, we can see there are 12 variables and 27 sites, etc.).
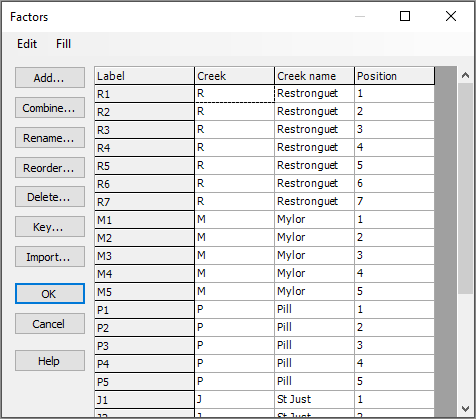
- Look at the Factors (if any): Click Edit > Factors.... (For the Fal environmental dataset, you will see the same three factors of 'Creek', 'Creek name' and 'Position' that we saw in the Excel file).
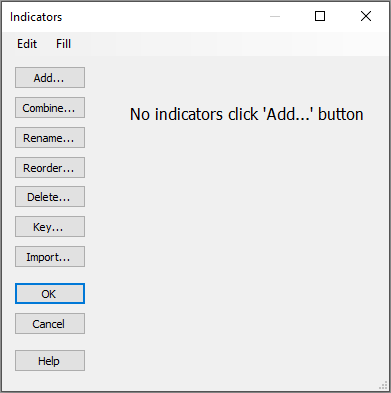
- Look at the Indicators (if any): Click Edit > Indicators.... (For the Fal environmental dataset, there were no indicators, but you could add some here, if you wish).
Run PRIMER's data-checking tool
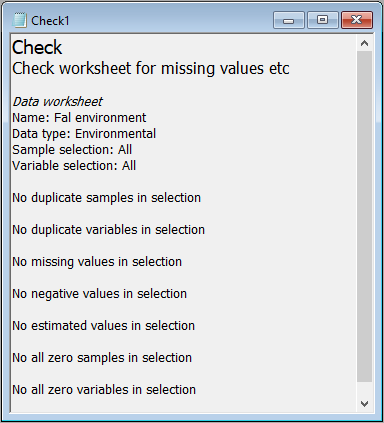
As an additional option, you can run PRIMER's internal data-checking tool to find and identify certain other features that might be present in your data, including:
- Missing values,
- Negative values,
- Duplicate samples,
- Duplicate variables,
- All-zero samples,
- All-zero variables, and/or
- Estimated values
To run this routine, start by clicking on your datasheet, then click on Tools > Check...:
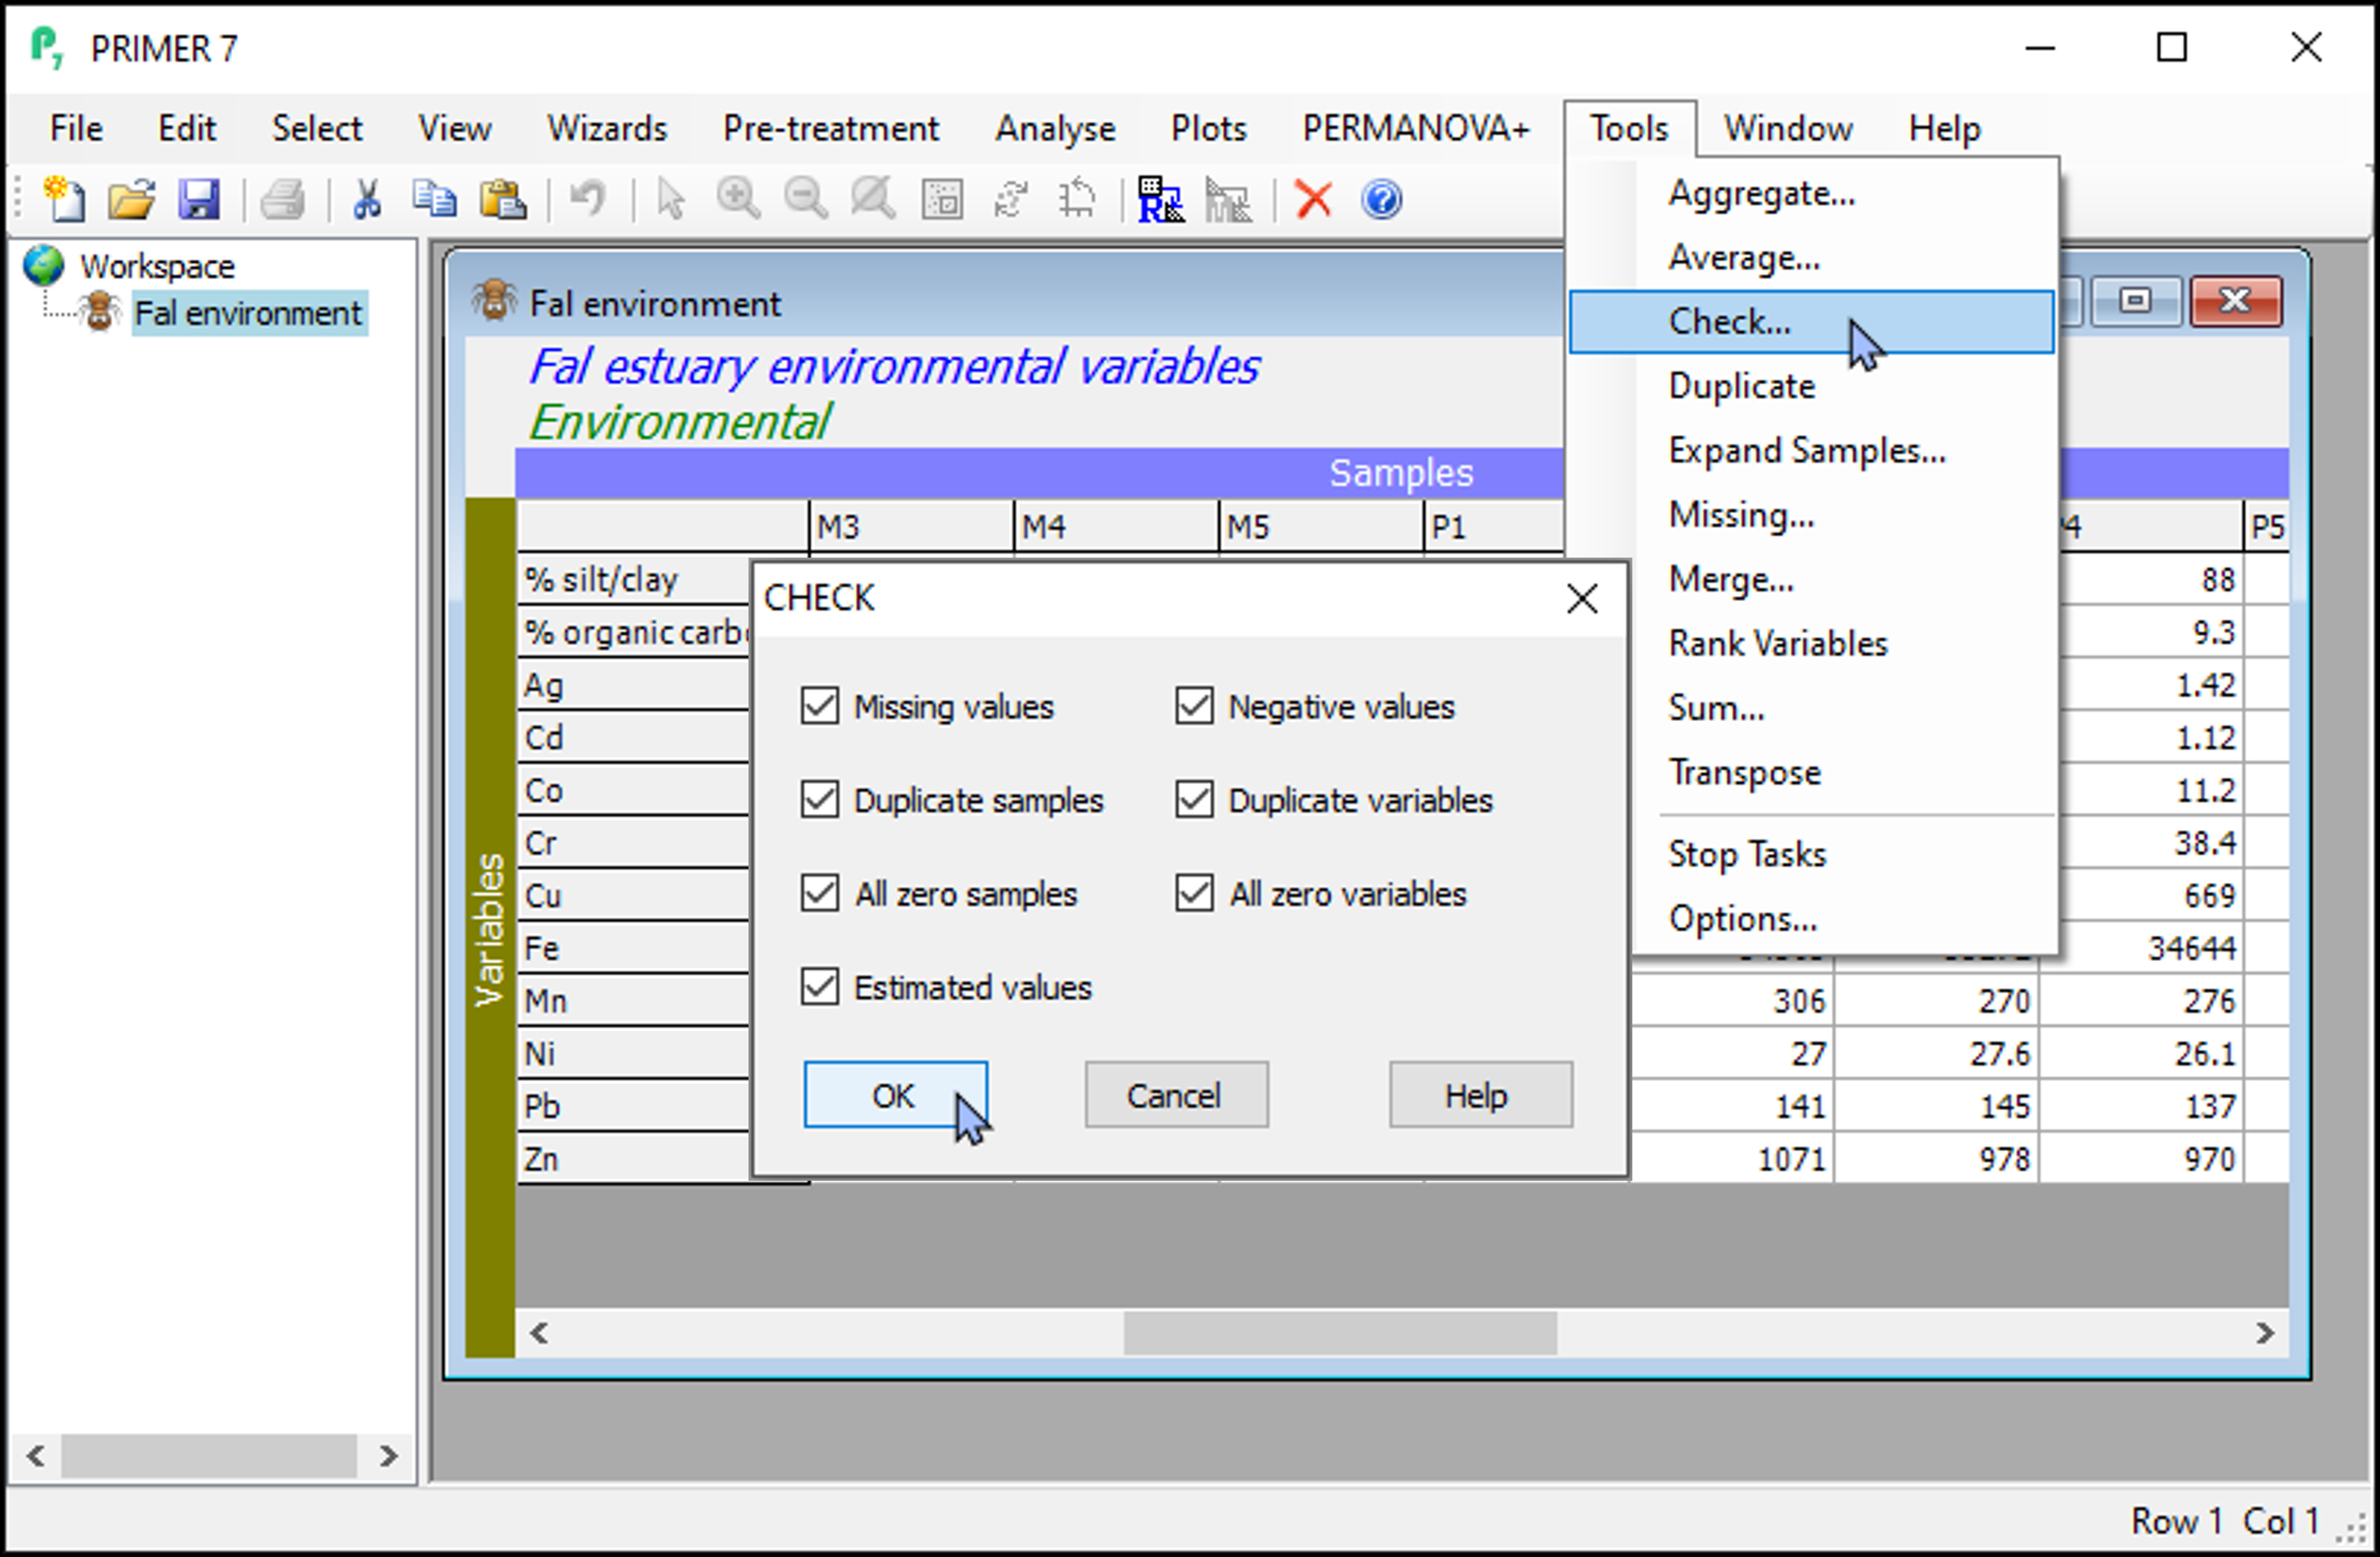
For the Fal environmental data, none of these features occurred (see below), and we are ready to proceed with subsequent analyses.