Uninstall PRIMER
Important note: You will need to have administrator permissions on your user account in Windows to uninstall PRIMER 8 software on your computer. If you do not have these permissions, please contact your IT team who should be able to assist you with uninstalling the software.
-
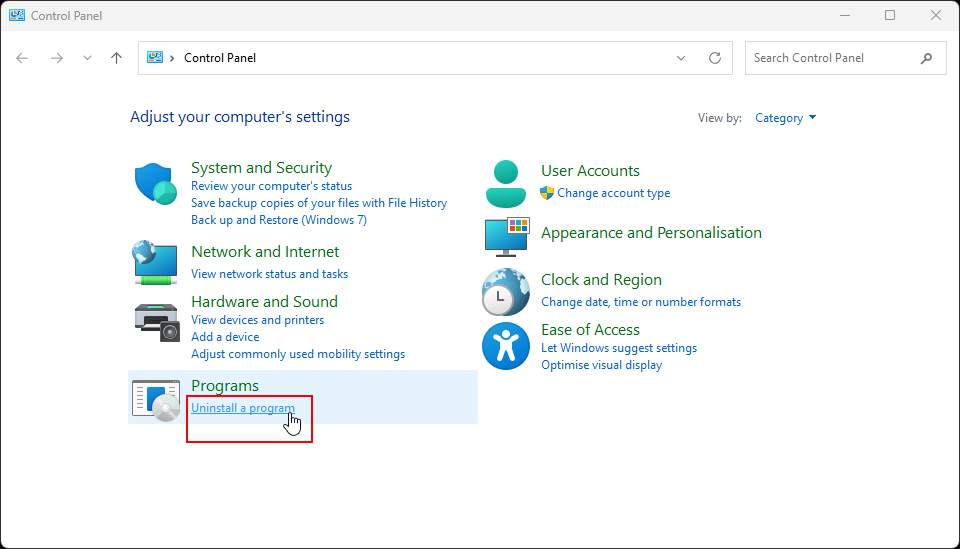
Open Control Panel on your computer.
- Click the start button or hit the Windows (⊞) key.
- Search for Control Panel.
-
Click on "Uninstall a program".

-
You will be presented with a list of installed programs on your computer. Look for 'PRIMER 8' in the list (programs are shown alphabetically), or type 'PRIMER 8' in the 'Search Programs and Features' box (located in the top right-hand corner of the dialog). Click on 'PRIMER 8' shown in the list of installed programs (so that it is highlighted), then click 'Uninstall'. Follow the prompts to finish uninstalling the PRIMER 8 software.

-
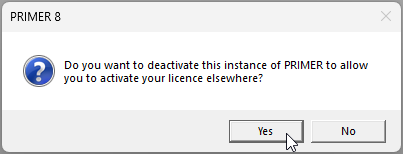
If you have activated PRIMER with a valid PRIMER 8 licence, then when you go through the steps to uninstall PRIMER 8 software from your machine, you will see a prompt that says 'Do you want to deactivate this instance of PRIMER to allow you to activate your licence elsewhere?' Click 'Yes' if you do or 'No' if you do not. Generally, the option most people want is 'Yes'. The main exception is if you are planning on reinstalling PRIMER on the same machine again.


Note: Your machine must be connected to the internet for the deactivation to work. If you run into problems, please contact tech@primer-e.com.