Step 1: Transformation
Perform the transformation
There are a range of possible transformations one might use in a pre-treatment of biotic data. For some discussion regarding appropriate pre-treatment transformations, see Chapter 9 in 'Change in Marine Communities'. In the case of the Fal data set, we may choose to downweight considerably the contribution of highly abundant taxa. Our first (pre-treatment) step will be to transform the data to fourth roots, i.e., $y' = y^{0.25}$.
- Launch PRIMER and click on File > Open..., choose the trial data file 'Fal nematode abundance.pri' in the browser window and click Open.

- To perform an overall transformation of the data (i.e., on all variables), click Pre-treatment > Transform(overall)....

- In the 'Overall Transform' dialog box, choose (Transformation: Fourth root), then click OK.

You should now see the transformed dataset (called 'Data1') as the 'active window' in the PRIMER workspace. Note that the transformed datasheet has inherited all of the properties, factors and indicators that were associated with the original data as well.
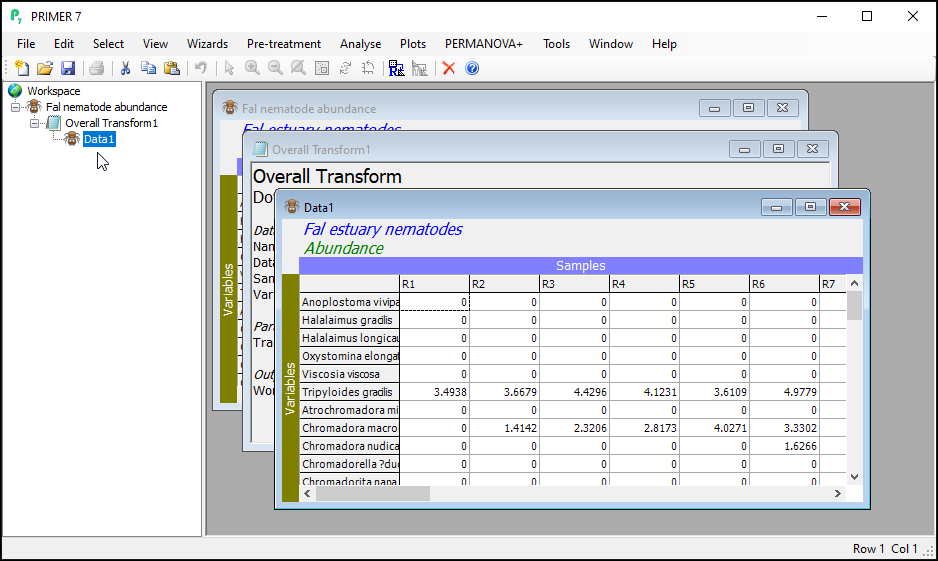
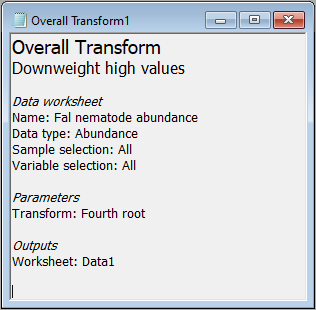
You will also see a small file (called 'Overall Transform1'), indicated by a little notepad ( ) in the Explorer tree. This shows a little more information regarding the choices you made for this particular run of the 'Transformation(overall)...' routine.
The 'active window'
The active window is identified by slightly darker shading of its border within the PRIMER workspace. Its name is also shaded in the Explorer tree. When you want to run any particular routine in PRIMER, you will need to make sure that the correct dataset (or resemblance matrix) is the active window when you launch that routine.
Notice that, although the transformed data ('Data1') is output as the active window after you do a transformation, the original datasheet is still in your workspace, and you can navigate back to it either by clicking on it's name in the Explorer tree (look right under the word 'Workspace' for 'Fal nematode abundance'), or by clicking on the window containing the datasheet itself inside the PRIMER workspace.
Re-name the transformed data
It is good practice to rename the datasheet corresponding to the transformed data for future reference within this workspace as you proceed with your work.
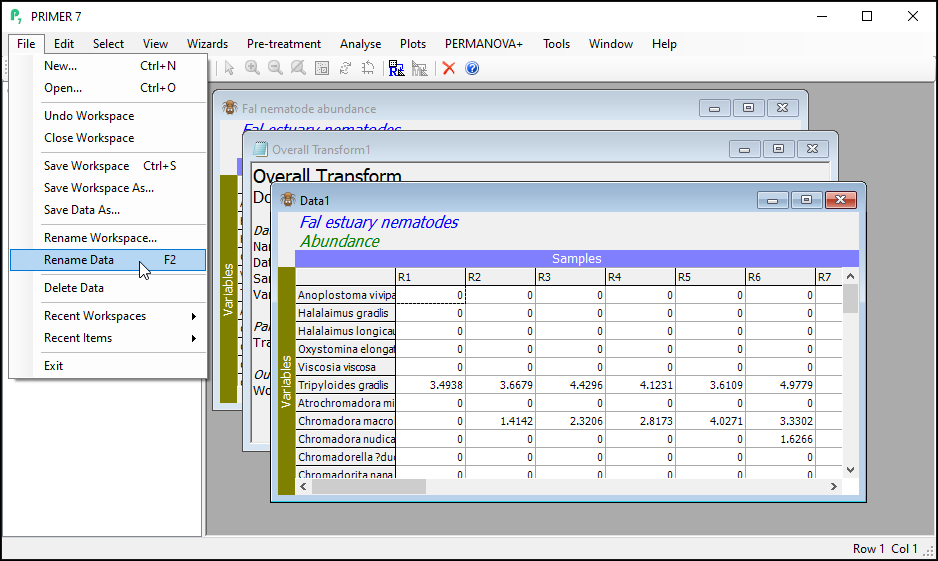
To re-name the datasheet within PRIMER, click on File > Rename Data.
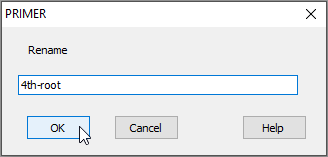
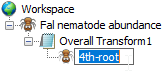
In the dialog box, type the new name you want to call it (in this example, we could re-name the sheet containing transformed data as '4th-root', as shown below), then click OK.
Alternatively, you can simply click and hover over the word 'Data1' in the Explorer tree window, and you will be able to change the name in situ right there, viz:
Before heading on to Step 2, you can optionally also now click on File > Save Workspace to save your full workspace thus far (you could use the name 'Fal_Workspace.pwk', for example).