Closing, redisplaying & tiling windows; Minimising windows; View menu
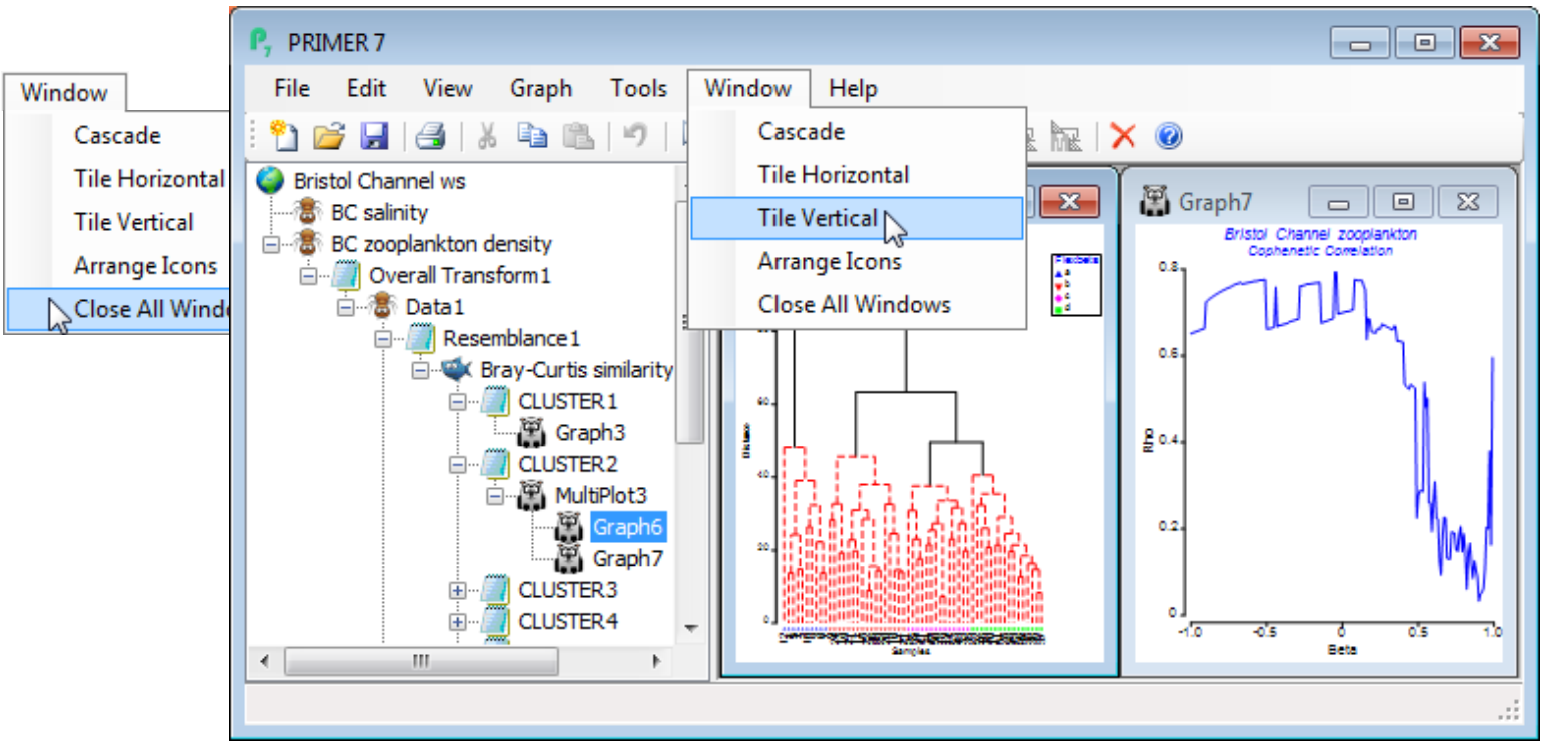
From the Explorer tree for the above illustration, you can see that workspace has been saved as Bristol Channel ws, with every row below this representing a window in the workspace, whether open or not. It is important to appreciate that whilst you can close down windows – individually by the usual  icon (top right), or all of them at once with Window>Close All Windows – they will remain in the workspace, and can simply be re-displayed by clicking on their name (or icon) in the Explorer tree. The option to tile or cascade windows may also be useful here, so that a common way of tidying up the display area (right panel of the PRIMER desktop) is to close all windows, click on the Explorer tree names for the ones you want to re-display and then take Window>Tile Horizontal or Tile Vertical or Cascade.
For consistency with much earlier PRIMER versions and other Windows software, there is also an option to minimise a window to the bottom of the PRIMER desktop, by clicking on the minimising icon ![]() , but this is no longer necessary or useful with more recent versions of PRIMER, it being easier simply to close the window and retrieve it from the Explorer tree when required.
, but this is no longer necessary or useful with more recent versions of PRIMER, it being easier simply to close the window and retrieve it from the Explorer tree when required.
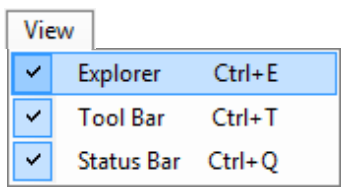
There will be situations in which, in order to display as much of a plot or datasheet on screen as possible, it is desirable to temporarily hide some of the other features, to widen and heighten the display area. In standard Windows fashion, the View menu allows three features to be toggled off and on again: ✓Explorer (the left panel), ✓Tool Bar (icons in the top row) and ✓Status Bar (bottom row, used to display position of the cursor in a data matrix, progress of a calculation etc).


